12 useful tricks you may not know in After Effects
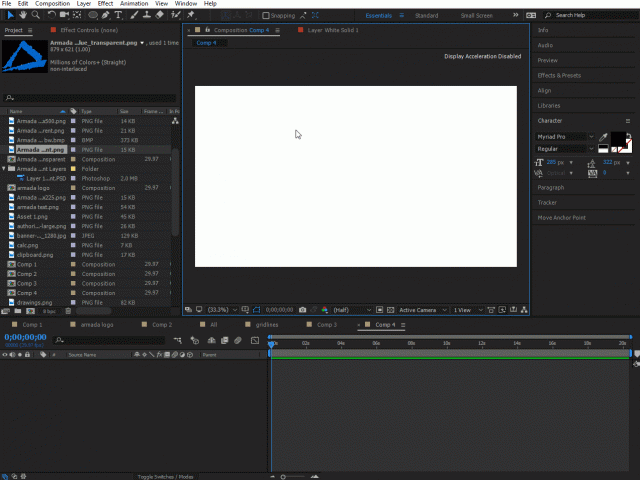
After Effects is one monster of a program, that’s for sure. For a beginner, it can be pretty overwhelming.
In this blog, Sam Sturley offers some tips and tricks that will be useful for beginners…
#1 Graph panel
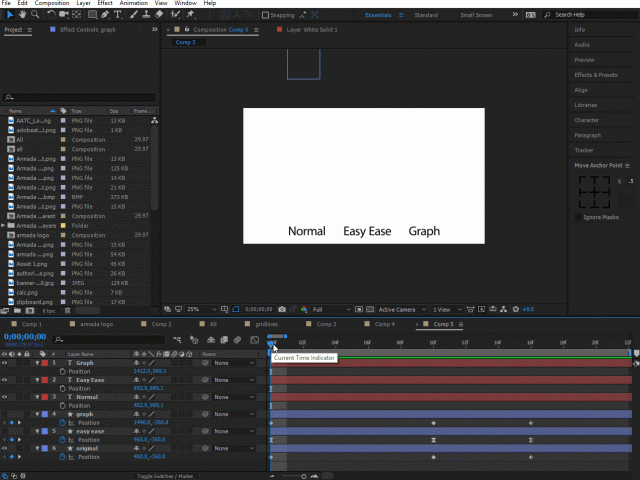
You probably know how to easy ease your keyframes, and do it at pretty much every opportunity. But did you know you can also do this graphically? It looks complicated, but it’s actually just a case of click and drag, and you have total control over your motion. It’s worth using!
#2 Scripts and plugins
You’re missing out if you don’t use any third-party scripts or plugins for After Effects. Some are free, and others are so amazing they’re worth paying for. A few worth looking at are:
- Optical Flares – you’re probably going to end up using lens flares at some point, and this plugin from Video Copilot is the most popular.
- Trapcode – amazingly powerful, this package from Red Giant creates advanced particle effects, as well as realistic organic effects like smoke, water and fire.
- Ease and whizz – more advanced ‘easy ease’ type effects to make your motion beautiful.
There are many more. Have a mooch around aescripts.com.
#3 Centre anchor point
I don’t know about you, but the most irritating thing I find when using After Effects is that the anchor point keeps jumping around.
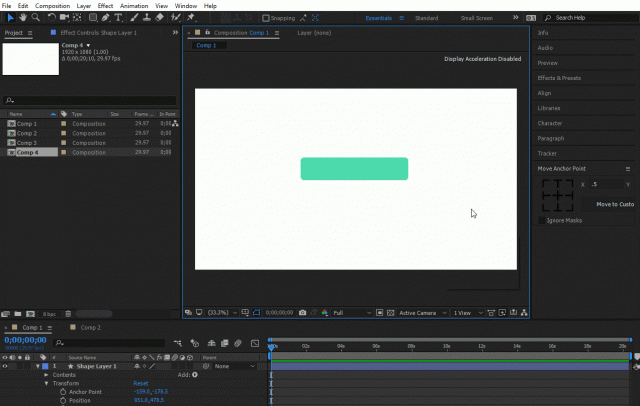
To keep it in the centre, you can right click on the layer, select Transform – Centre Anchor Point. The shortcut is Ctrl+Alt+Home.
You can also download a nifty script called ‘Move Anchor Point’ which gives you a panel so you can centre the anchor point, or move it to exactly any corner, at any time.
Move Anchor Point cost around US$5, and can be accessed here.
#4 Create in 3D
Amazingly, After Effects now comes with 3D rendering package, and a lot of people don’t even know about it.
It’s called Cinema4D Lite, and is a ‘lite’ version of Maxon’s Cinema4D software.
It allows you to incorporate 3D objects into your animations.
Just go up to File – New and you will see that “MAXON CINEMA 4D file” is an option.
You can work with Cinema 4D in it’s own interface, or within After Effects.
There is obviously a learning curve, but it will take your compositions to a whole new level.
See an overview of how it works here.
#5 Centre/fit to comp
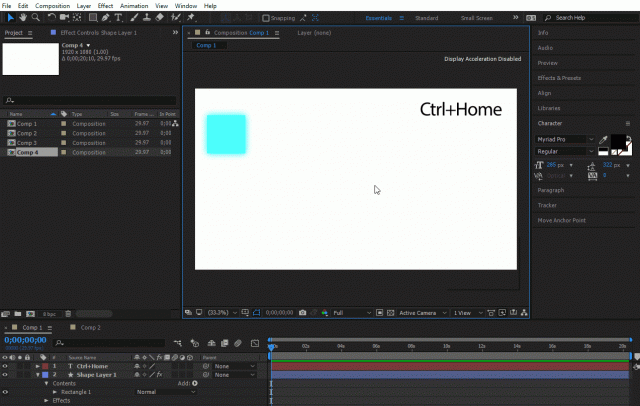
Want to put any object dead in the centre of the composition? Just press Ctrl + Home. The anchor point has to be in the centre of the object for this to work, but you’ve already got that covered, right?
You can also fit an object to the whole composition by pressing Ctrl+Alt+F / Command+Alt+F:
#6 Apply one effect to multiple objects
Say you have ten objects and you want to apply the same effect to all of them. Just copy and paste the effect, right? BUT you’re aware that in future you might want to change this effect on ALL of them in future.
Before this would have been a major hassle for you, but now you know about Ctrl+Alt+C / Command+Option+C. Simply:
- Apply the effect to the first object.
- Press Ctrl+Alt+C (or go to Edit – Copy Property Links).
- Select the other objects and paste.
Now they are all linked or ‘grouped’ together so whenever you change the effect on one, it will change all of them.
This works with things like masks and scales as well.
#7 Reset scale to 100%
Did you know you can double-click on the move tool, and it will reset your object to 100% scale?
This also works with the rotation tool, setting it back to 0 degrees.
A nice little timesaver.
#8 Make layers appear in sequence
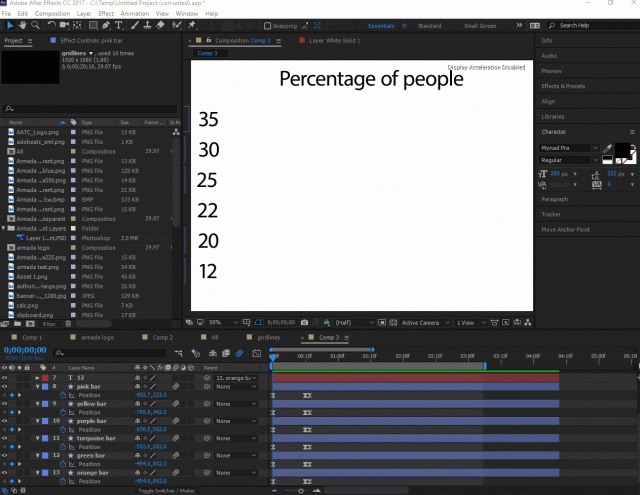
Have you got a bunch of layers you want to time to come in one by one for example, every 10 frames?
Instead of fiddling around with every layer one by one, simply select them all, then go to Animation – Keyframe Assistant – Sequence layers.
This will bring up a dialogue box where you can by how many seconds you want the layers to overlap. You can even add transitions.
#9 Stop glitchy keyframe movements forever
Have you ever found that some of your objects jump around randomly between keyframes with seemingly no explanation?
The problem is your keyframe interpolation is set to ‘Auto-bezier’.
To make sure this doesn’t happen again, go to General Preferences and check the ‘Default Spatial Interpolation to Linear’.
#10 Character Animator
Character Animator is an application that comes free with Creative Cloud and is designed to work with After Effects. Again not everyone has heard of it.
You can animate characters by mapping its limbs to your own limbs through a webcam. So whenever you move your arm, the character moves their arm.
A lot quicker and let’s face it, way more fun, than animating a character within After Effects.
You could draw a detailed character in Illustrator, animate it in Character Animator, and then drag and drop the character into After Effects using dynamic link.
Any changes you make in Character Animator will be reflected in After Effects straightaway.
You’ll find a quick tutorial to get you started here.
#11 Shift parenting
We all know about parenting, but did you know about shift parenting?
Hold down shift as you parent and the object will snap to the parent, but keep the keyframes.
#12 Manipulate your shapes with the pen tool
When you click on the shape tool, you will see ‘Bezier Path’. Check this before you draw, and you will then be able to manipulate the object with the pen tool afterwards.
So there you go. I hope some of these tips have helped you, and you enjoy trying them out in After Effects.
Is there anything that you think should be added to the list? Please let us know in the comments!
Armada offers After Effects training to users at all levels. See Introduction to After Effects and Intermediate/Advanced After Effects.




Leave a comment